
In this post I will tell you how to configure your VPN server with VLESS + XTLS Reality. This will allow you to hide the fact that you are using a VPN from your ISP, because all traffic passing through will go through HTTPS and masquerade as a normal website visit.
You can use any hosting service you want, but I like aeza.net the best (not an advertisement). On this site it is possible to rent a VPS for only 1 euro per month. However, this price is only available in the Stockholm region.
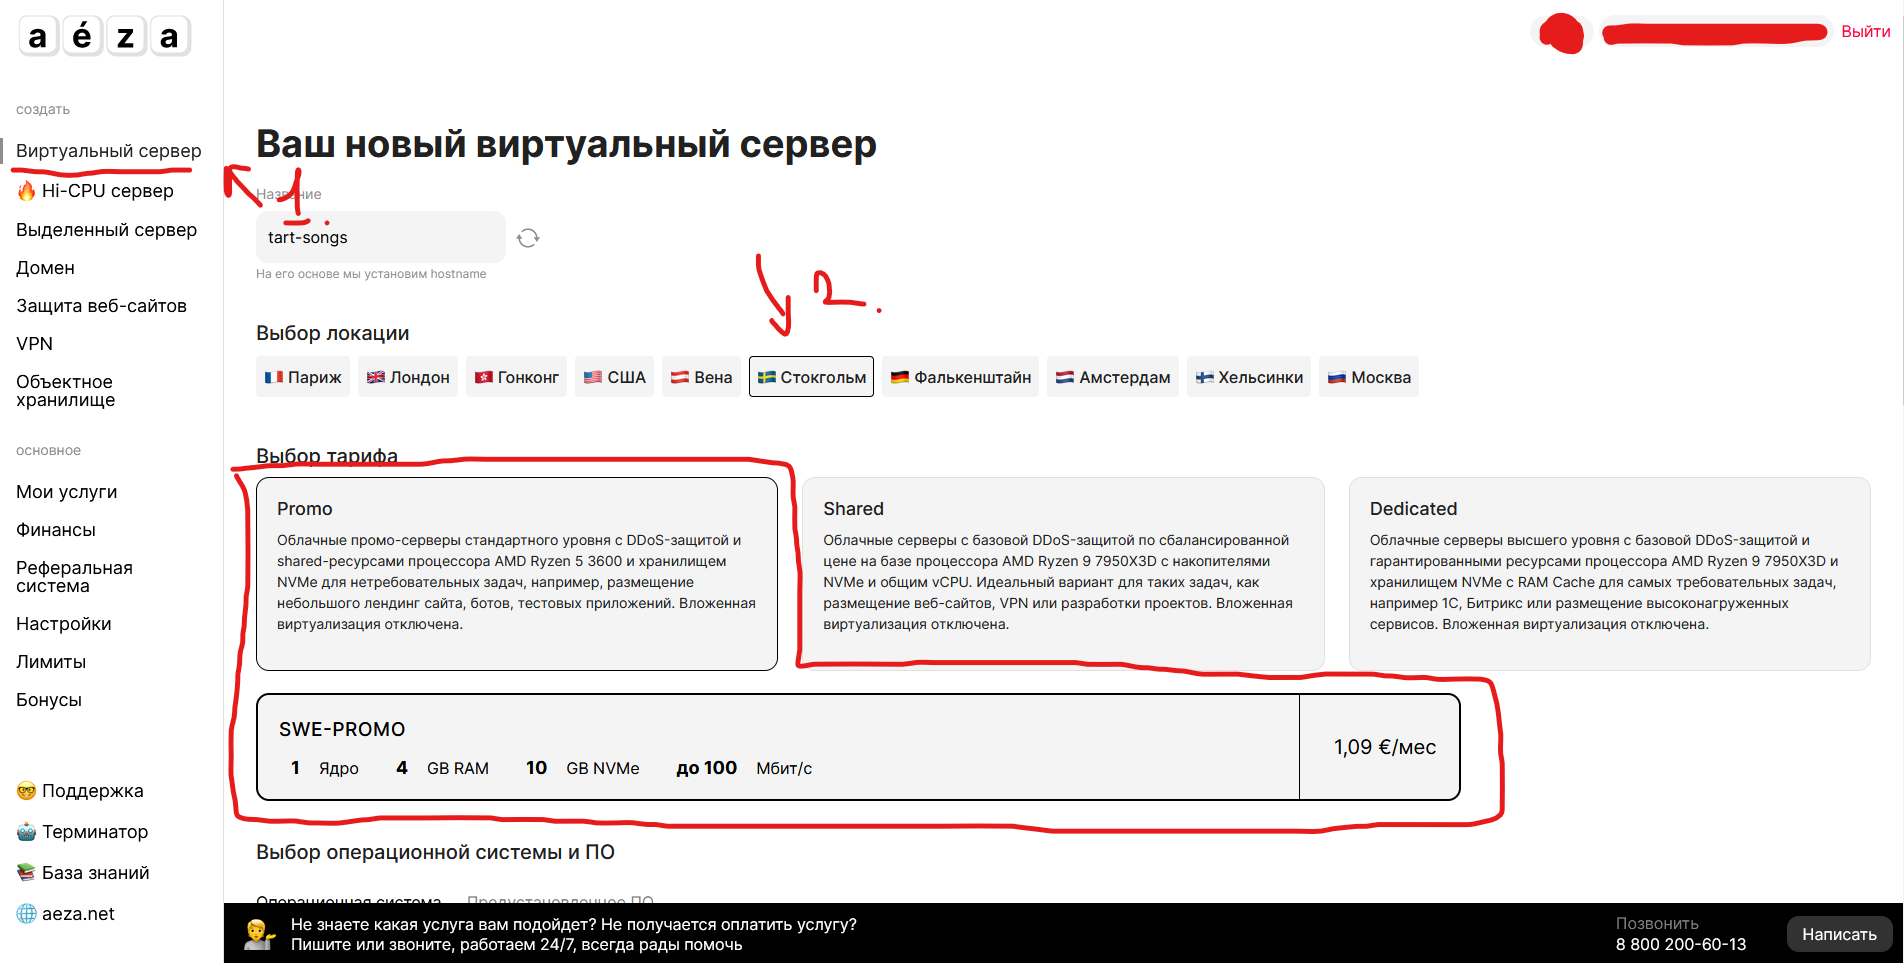
Overall, you shouldn't have any problems with your rental. After purchasing, follow the guide in this post and move on
Go to the server and install 3x-ui. You can find more details in the official repository on github.
Currently, the repository is deleted, as is its owner, but I found a fork of the repository
I will use the standard method since this machine will be used only for the vpn
Enter the command into the terminal:
bash <(curl -Ls https://raw.githubusercontent.com/mhsanaei/3x-ui/master/install.sh)
After entering the command after some time in the terminal, you will need to provide a username, password and port to access the web ui of our 3x-ui.
Please use the password generator
The port must be in the range of 35000 to 65000. Choose one that is not busy
Go to http://[ip]:[port] where:
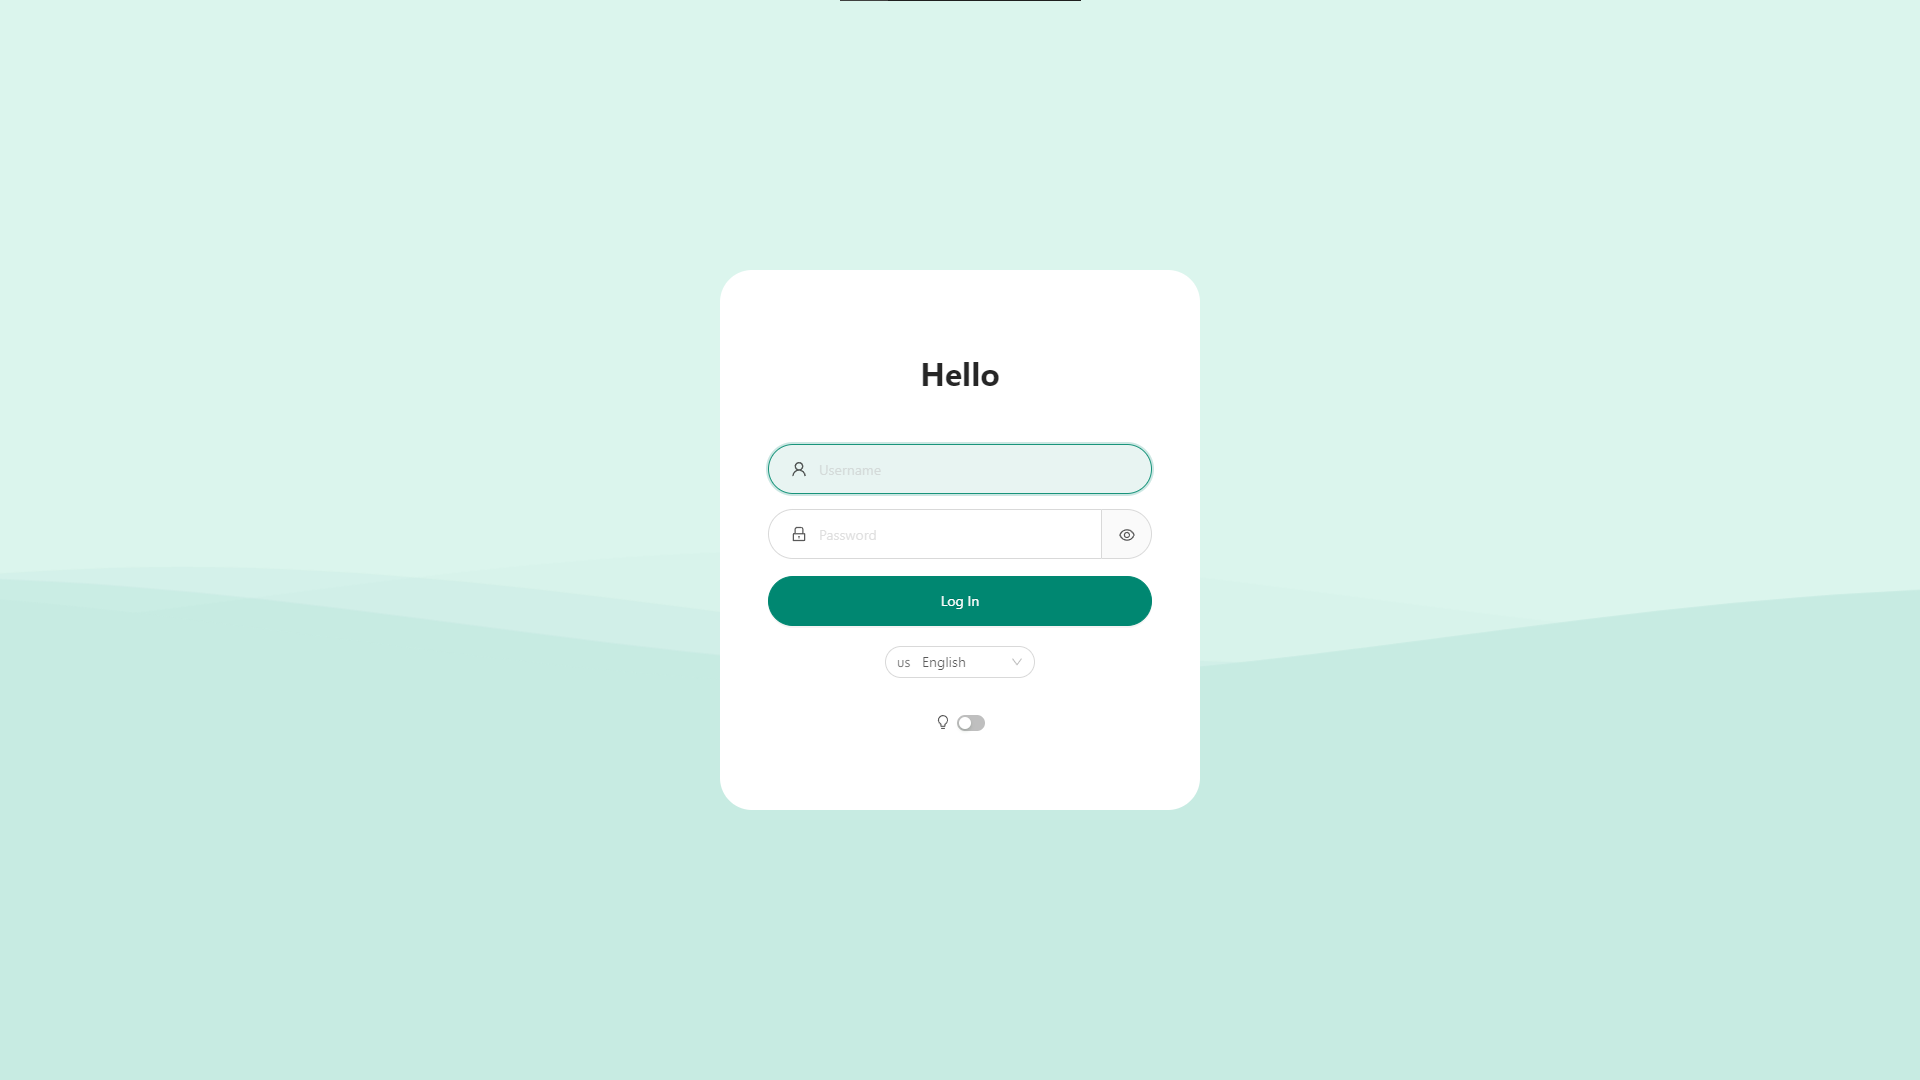
The 3x-ui authorization page opens in front of us. Enter the account data that you entered in the installer.
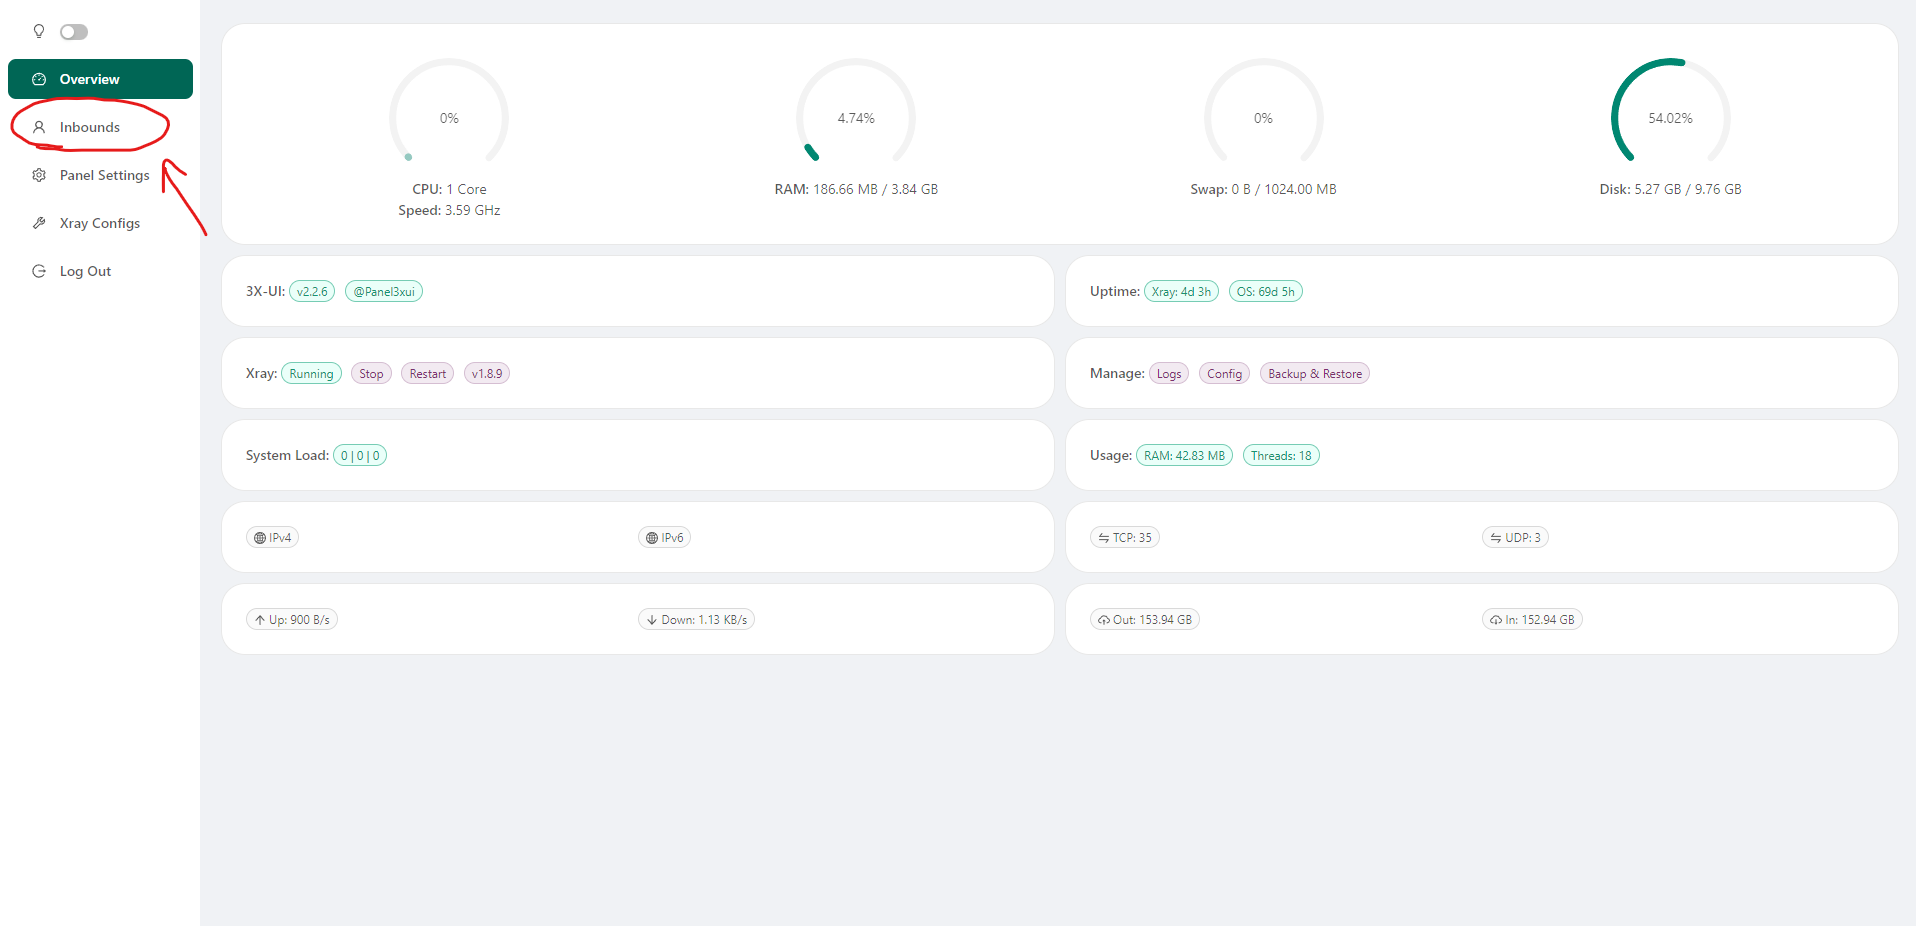
After authorization go to the Inbounds page and click "Add Inbound" button.
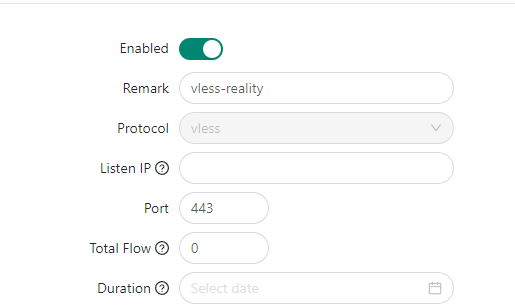
We name our inbound, choose vless protocol, leave listen IP empty, write 443 in the port field to use the secure https protocol.
Go down to Security settings and in uTLS select the desired browser, I choose Chrome (I recommend choosing the browser you use most often, so there will be less suspicion). In the Dest and SNI fields enter the domain name of the site under which we will hide VPN traffic, in my case it is youtube.com. After that we press the "Get New Cert" button and go to "Client".
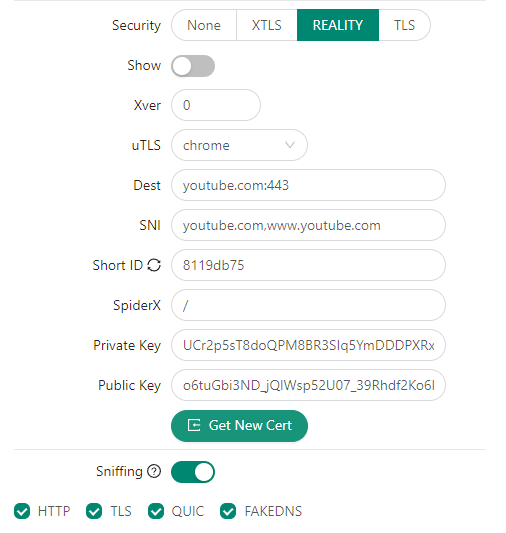
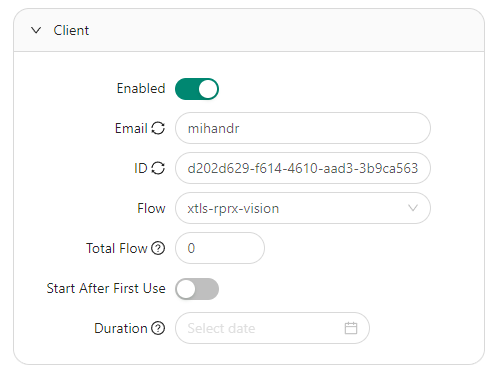
In the email field name our user something, and in the flow field select xtls-rprx-vision. You can also create clients for a certain time, choose how much traffic it can use. After adding a client click the "Create" button at the very bottom.
Once created, go to the "Overview" page and see all of our connections. Click on the plus sign to the left of the connection. A menu with all created clients will open. Click on the QR code icon.
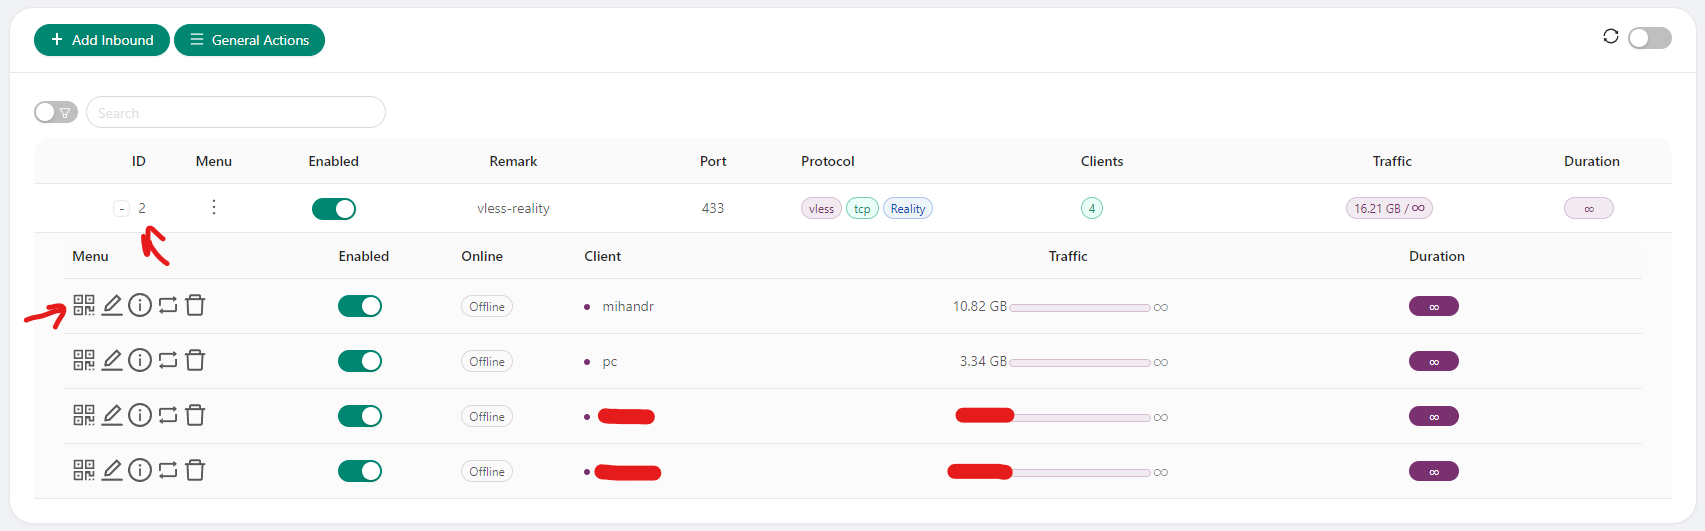
In the opened window click on the QR code. After that the link for connection is copied to us.
Install the v2box app from the app store.
Copy the link received from 3x-ui and open the app, go to the Configs tab, click on the plus icon on the top right and select "inport v2ray uri from clipboard".
Config was added. Go to the Home tab and click "Connect" button.
Download InvisibleMan x2ray client from github.
Launch the application, click "Manage server configuration", click on the plus icon on the bottom right, select "Import from link", paste link in the input, press "Import" button.
Config was added. Go to the main tab and click "Run" button.
Basically, that's all you need to know to make your own vpn. However, you may see a warning in the VPN control panel that the connection is not secure. This does not affect the operation of the VPN itself, only the connection to the control panel. If you want to set up a secure connection, go to the 3x-ui page on github and read the README.md file. It explains everything.
Currently, the repository is deleted, as is its owner, but I found a fork of the repository
If you still have questions, ask them below this post on my Telegram channel
I hope roskomnadzor will not ban this post :)